Tuesday, September 21, 2010

Bible Cover Tutorial

I have been dying to have a Bible cover for the longest time, but have never gotten around to making one. I always have a thousand things on my to-do list and never remember to make a Bible Cover until I am sitting in church. Well I finally took the time to make one during nap time. I already have one, but it's store bought, and boring. I wanted something a little more flashy...sounds like something I really need in worship...huh?;o)
Anyway, I thought I would put together a tute for any of you who might want to make one of these yourselves.
Here's what you need:
1/2 yard of fabric
Double Fold Bias Tape
Thread
Low Pile Batting
Velcro
My Bible measures at 15"x10". When I decided to make this cover, I wanted to make it as simple as possible. I only have a short period of time to work with since nap time is getting shorter and shorter these days:o)
Here's the break down of how to assemble the cover
Cut your fabric according to the dimensions of you Bible.
You will need:
 2 Large rectangles (front cover and inside cover) size will depend on Bible measurements
1 rectangle cut to size of covers from batting
2 straps measuring 4"x 22"
2 pockets. My pockets were 10 1/4" tall by 4" wide
2 -3 1/2"x10" rectangles for enclosure
You will need to sandwich the batting between the two large rectangles, right sides facing outward.
Now I never pin anything together b/c I am lazy, and I have lost a lot of machine needles from sewing across pins. But for this, I did pin. Only because when quilting, the fabric will move and nobody wants to take the time to pick out all those stitches:o) So starting from left to right pin the fabric in place, and make sure the fabric is laying flat, and that there isn't any bunching.
Now quilt. I kept my seams about an inch and half from one another. One tip to remember when quilting. Roll the fabric up, so that it's easier to feed the material thru so that you can keep a straight stitch.
When you have sewn all your squares, there will be some fabric that is hanging over, like the picture below.
Trim that off. You want all the edges to be the same.
Next you will want to prepare the straps, pockets and the enclosure. For the straps, just use your iron to press it into place.
Fold in half length wise. Press.
Fold the outer edges in and press.
Sew a seam as close to the edge as possible but making sure to catch all of the fabric.
The pockets for the inside of the cover will need some bias tape. All you do here is open the bias tape up, and slide the raw edge of your fabric inside and stitch.
The enclosure is simple. Place right sides together. Run a 5/8" seam around the two long sides and one short side, leaving the other short side open.
Trim corners off
Turn right side out and press.
Now it's time to put everything together. You will want to line everything up where it's supposed to go and use a basting stitch to hold it all in place. So much easier than trying to pin everything:o)
(A basting stitch is the one where the stitches are wider and further apart)

Time for the bias tape. Now I tried using a 1/4" wide tape,and boy was that a mistake. I ended up using a 1/4" tape on the pockets and a 1/2" tape on the outer edges. Do it the same way you did the pockets, just open it up and keep all raw edges inside the tape. The corners are a little tricky so go slow there:o)
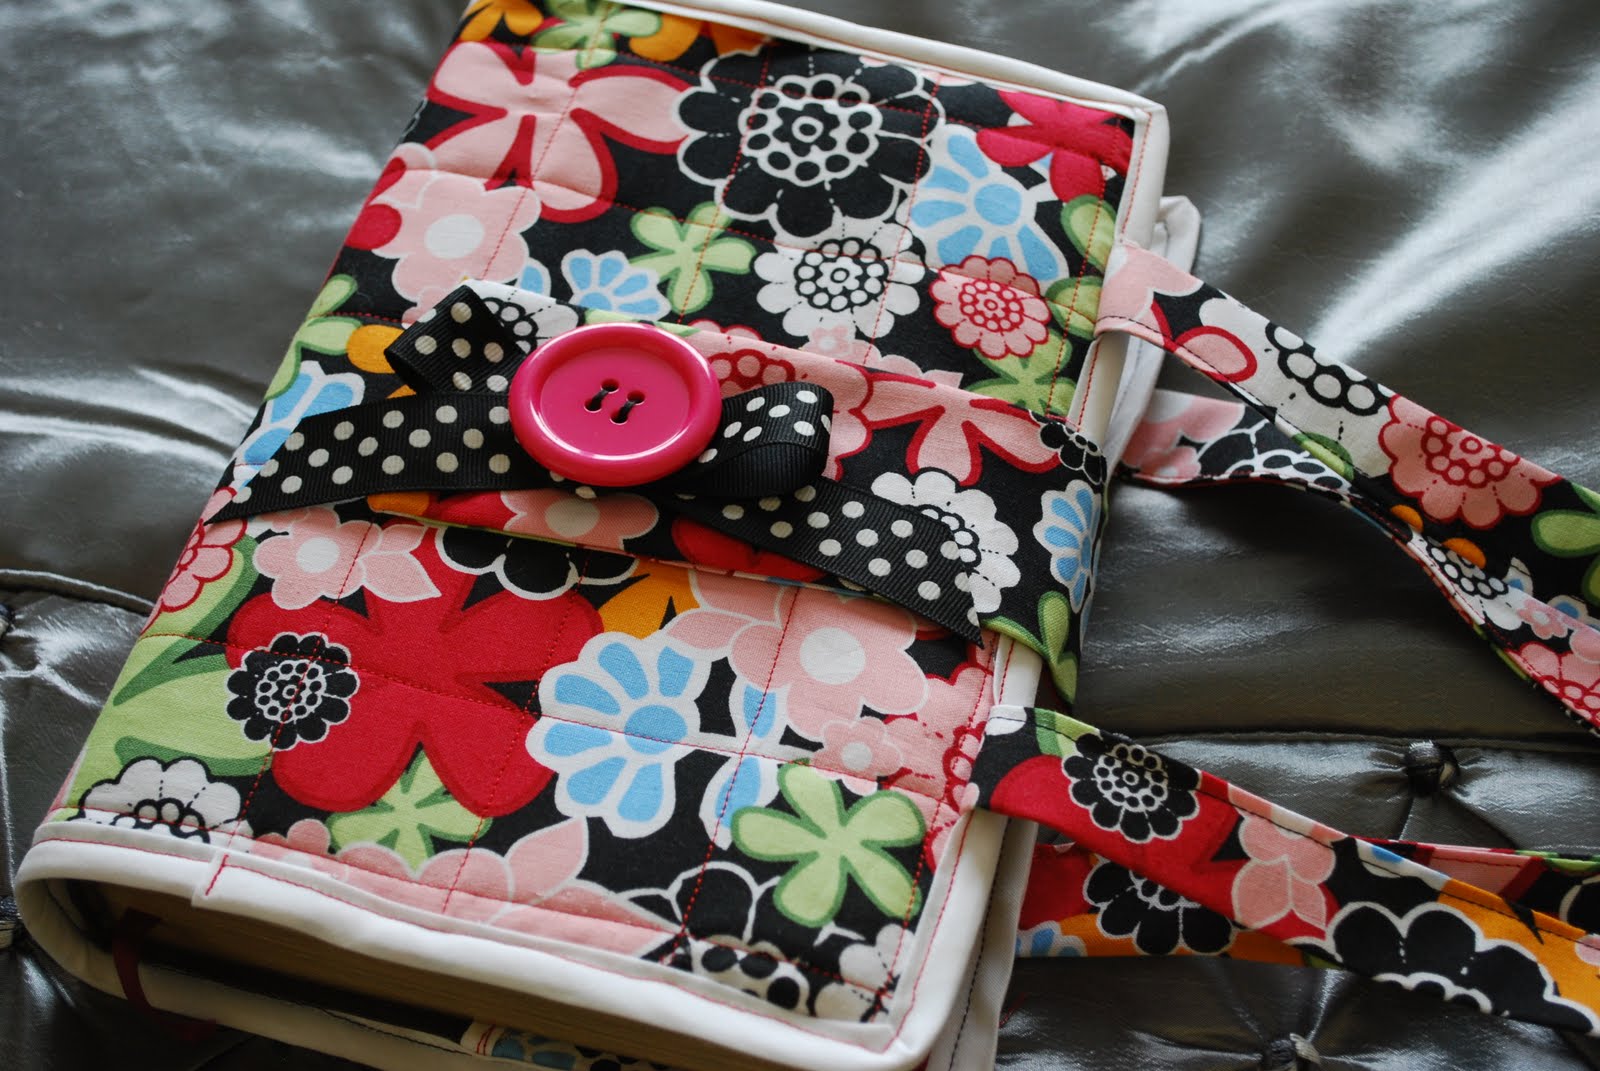
And here is the finished product.
I didn't put the velcro on until the very end because I needed to see how far the enclosure would overlap. I used the bow and button to cover the stitches from the velcro.
I love that the straps are long enough that I can carry it on my shoulder...now I have my hands free to carry little ones or their treasures from Bible class:o)
Let me know what you think...I am really digging this:o)

Some numbers

West Van 12 New, 6 Changes, 1 Sale

North Vancouver 24 New, 8 changes, 12 Sales

Van West 71 New, 24 Changes, 18 Sales

Whistler 5 New, 1 Change, 0 Sales.

BTW- ear on the ground from some agent friends, off-shore owners may be net sellers. Lost of them have listed and sold. Maybe the high prices + high CAD were too tempting...or maybe the tax/strata- fix and repair daily was too much.

In any case this would seem to against the urban myth prevalent now.

Fall is Fast Approaching...

even though it doesn't feel like it!!!
I want to pull out my long sleeve shirts....come on weather!!!
My babies want to roast "smarsh-mellows."
Speaking of my babies....my little man is 4 today. He's getting so big! He got in bed with us this morning, and when I was finally able to open my eyes without them rolling right back into the back of my head, I said Happy Birthday boy. He got the biggest grin on his face and a look of accomplishment. It was like he had "graduated." He is so proud to finally be 4:o) He is so sweet. I am making cookies for his class tomorrow to celebrate with his school buddies. We'll see how that goes. The dough is on the counter trying to reach room temp.:o)
We made thank you notes last night, and that was a sight to behold....weeping and gnashing of teeth. E knows how to write his name, but he likes to change things up a bit by not writing the letters in the correct order. So that was an ordeal. We finally got his name down 11 times. I worked on the fronts. Real simple. Here they are:
I got the cute little cowboy here. It is a really cute website with all these FREE printable downloads. I just inserted the "Much 'O'bliged"(I realized just yesterday that it isn't 'A'bliged). I cut it out along with a 2" wide strip of scrapbook paper and just stuck them to a card. Simple.
Now for some fall love.
I had a "feeling sorry for myself day" a few weeks ago. When I feel sorry for myself, I have to go out a buy something crafty and work hard so that I feel better about myself...it's sick..I know:o)
I went to Hobby Lobby...imagine that:o) I started looking at all of their fall wreaths and I couldn't believe how expensive they were and how unimpressive they were too. So I bought leaf garland, (2 different types), and a few other add ins and decided I was going to make one for myself. I had a wreath form that I purchased at Dollar Tree...not the foam kind, the other kind...not sure what to call it...I have some baskets made of this same wood like substance. 
Anyway, I got out my glue gun, and an hour later I had this
for slightly over $30!!! Beat that Hobby Lobby;o)
I LOVE this wreath. I thought about entering it into the Cultural Arts fair the other day, but didn't want to part with it:o) The hubs can't understand why I am decorating for fall when it is still almost 100 degrees outside....I say b/c I can:oP
The 'W' was purchased from H.L. and I just slathered Mod Podge on it and smothered it in glitter. LOVE!
Hoping to share a few more Fall projects the rest of the week. I am not feeling super motivated right now, so I can't make any promises;o)

Participating in:

Domestically Speaking

Monday, September 20, 2010

It's not worth the effort!

Just got North Shore Numbers. Some bears must be coming down from the mountains for a few snacks before hibernation.

West Van (all types)

11 New Listings, 4 Price changes and 2 sales - one sale was for 30% above listings..huh!

North Van (all types)

17 New Listings, 18 Price changes and 3 sales.

Van West (all)

60 new listings, 2 back on the market, 22 price changes, 19 sales.

What's with the title? - well dear seller, if you have a Million $-plus house and it hasn't sold for many months, a $10K deduction won't have them breaking the doors down!

Friday, September 17, 2010

Fall Color

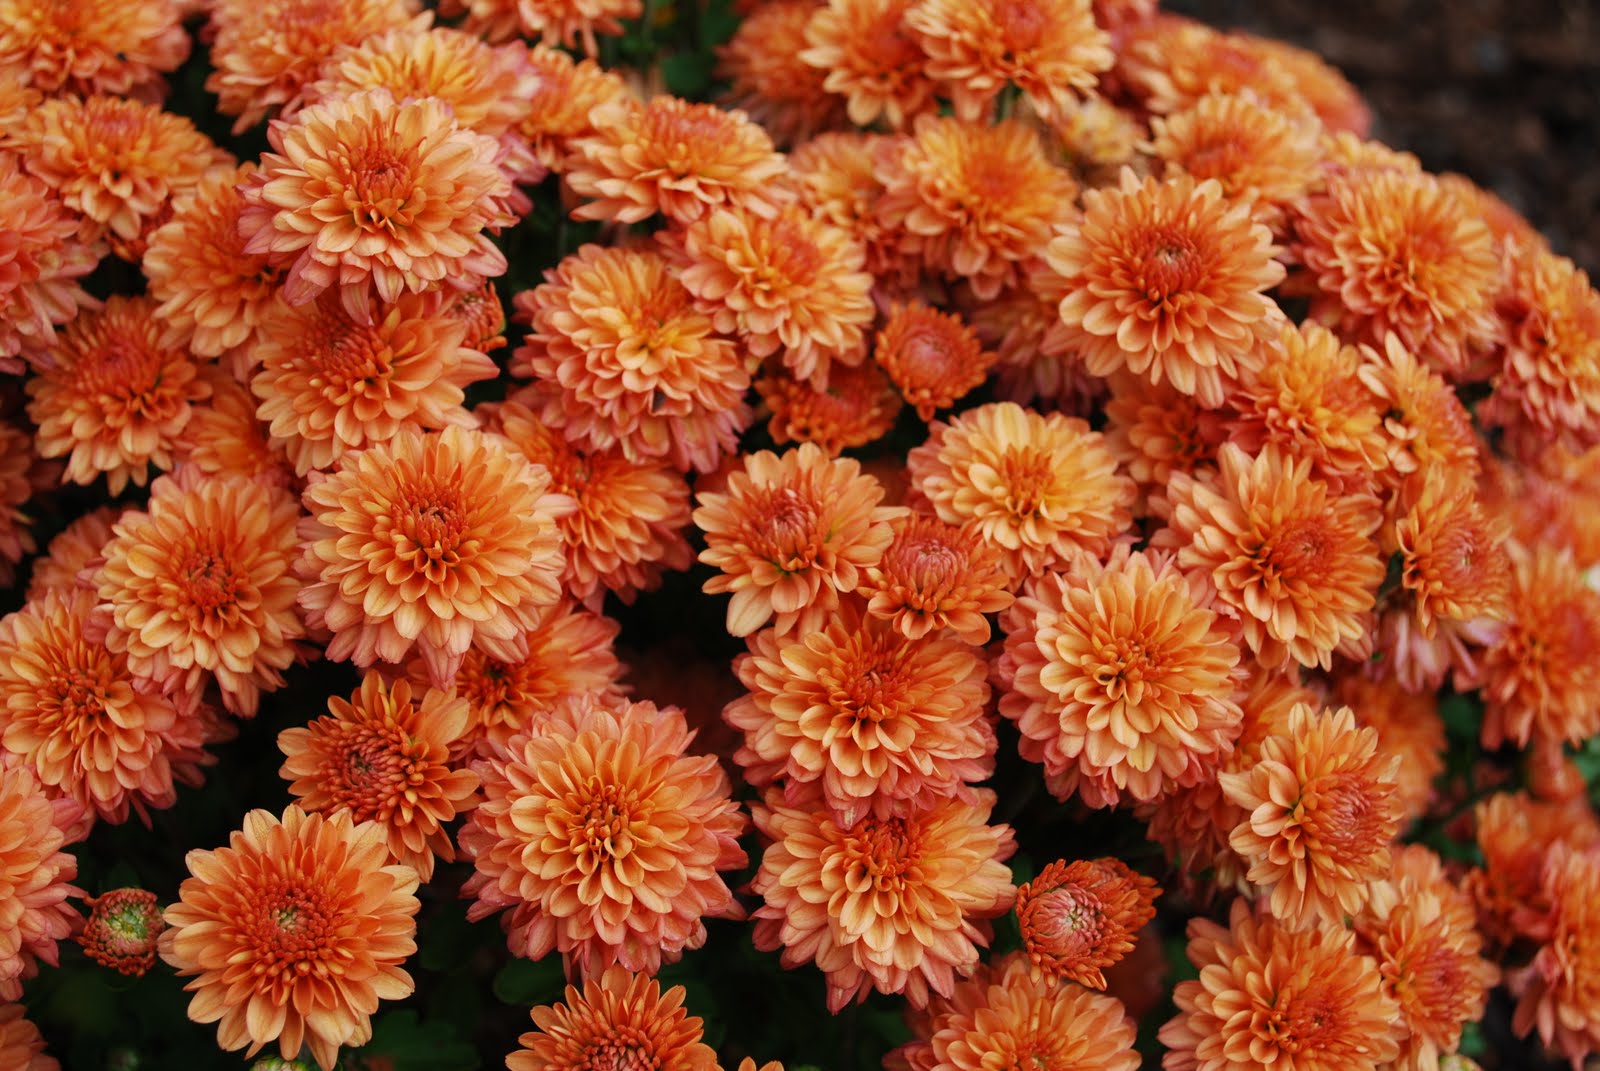
Fall is approaching, and I have the Mum Bug:o)
Are you digging these gorgeous flowers?
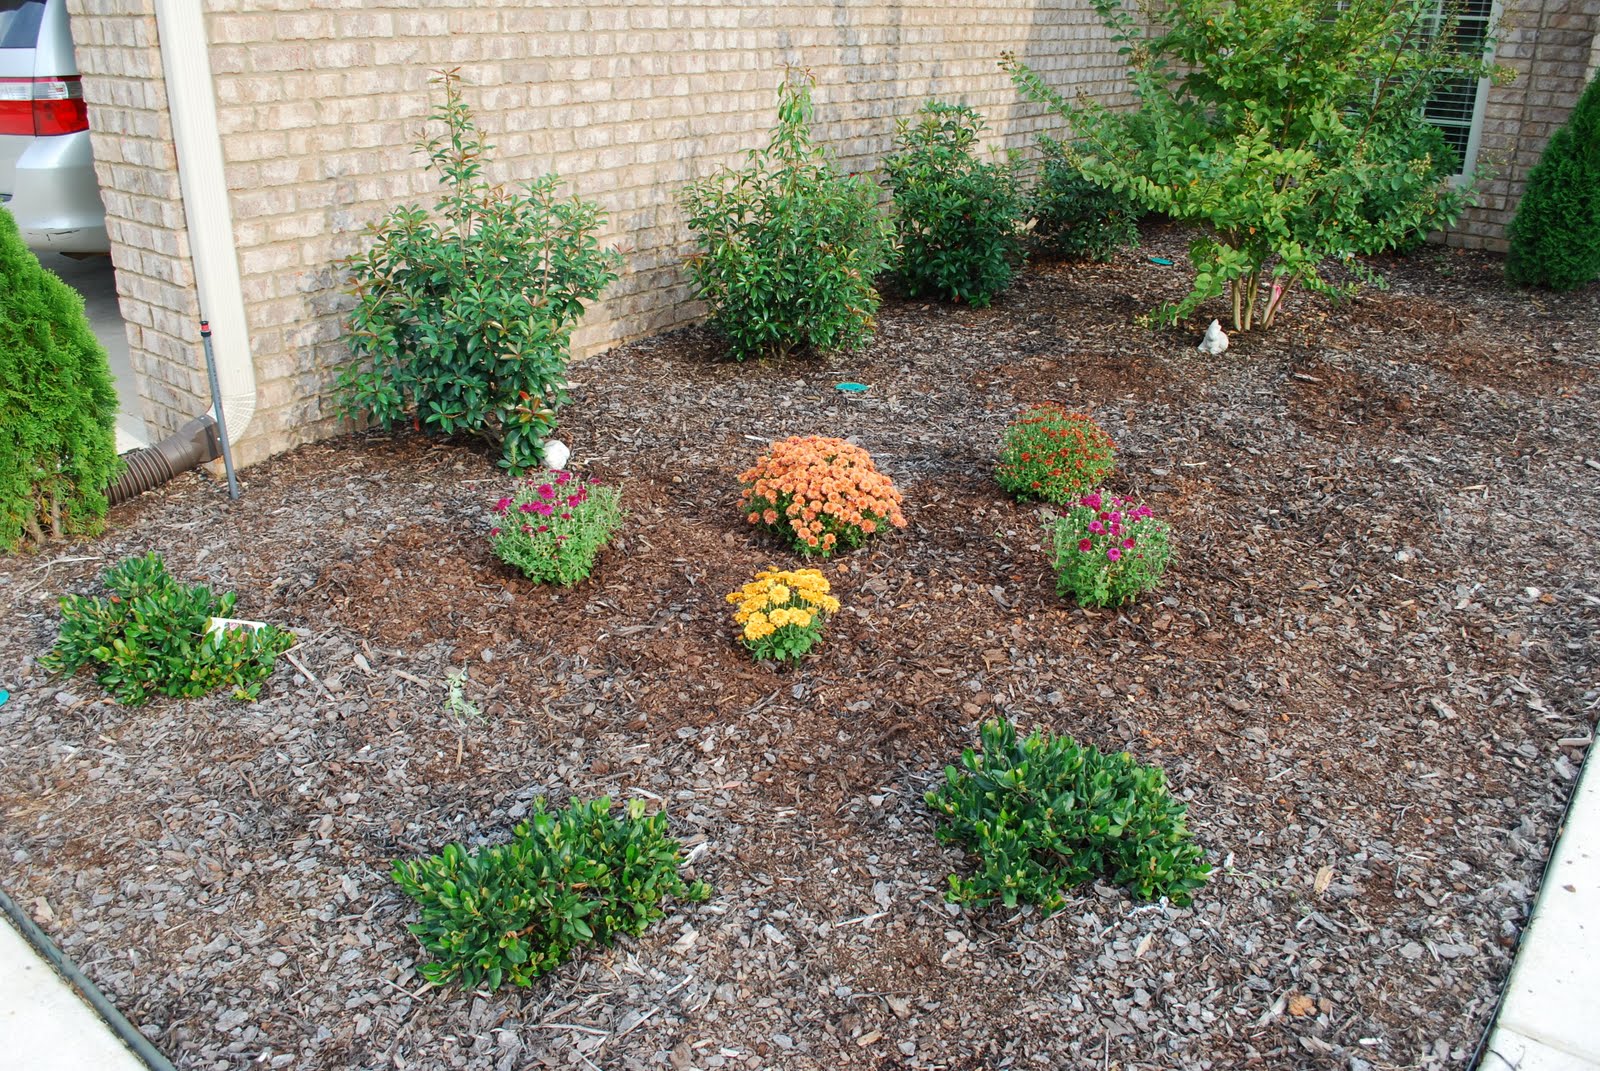
I went on a planting spree yesterday. I purchased some mums from Lowes.
Here's where they found their new home...
Slightly unimpressive right now, but give them a few years, and they will be really something. That is one of the things I love about flowers. They surprise you every season. Sometimes not for the better, but usually the surprises are wonderful:o) 
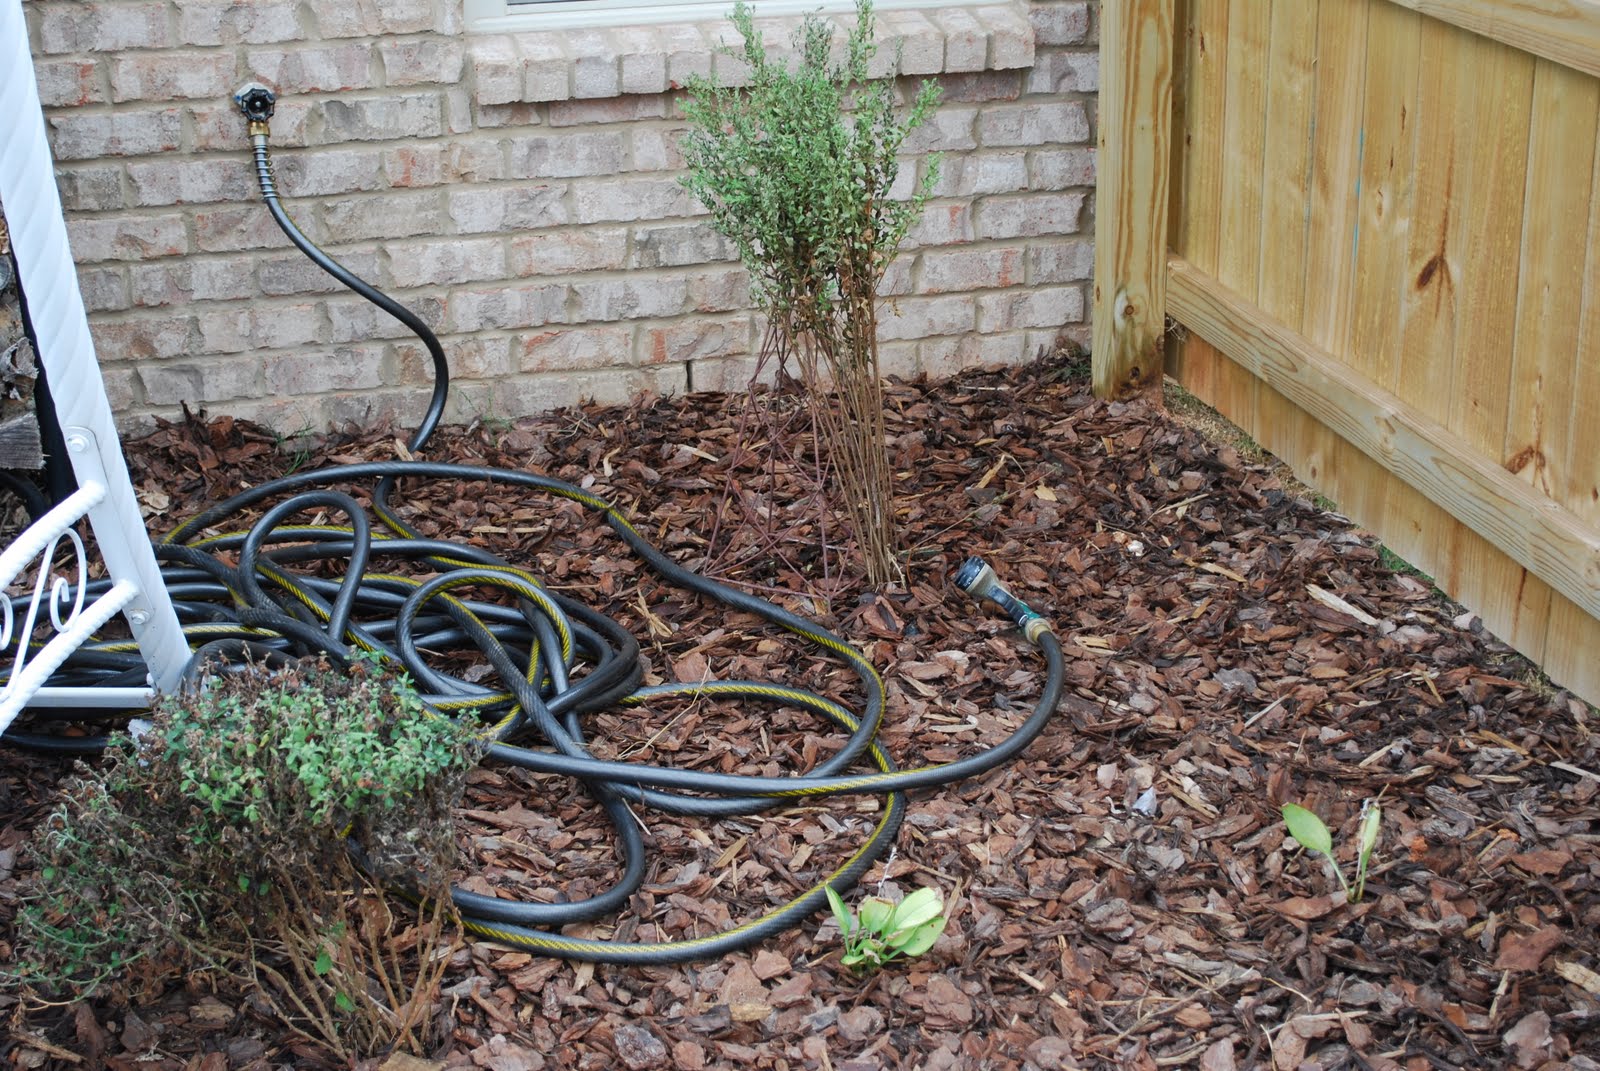
There were 4 hosta plants that I planted in the front bed that didn't quite do so well b/c of too much sun, so I moved them to the back bed.
Can you see them? They are there:o)
Our hose reel broke the other day, so that will be another purchase from Lowes:o) 
The two dead looking plants can be explained. At the bottom left is a mum...was a mum. It was at my parents' house, and they dug it up. I think some of the roots were damaged, but it is still showing some life. Going to let it stay thru the winter and see what happens. The stuff in the back is what I call the "Mozzie Bush". We called my great-grandmother, Mozzie. I have no idea where that name came from. She was one of the most precious women that I have ever encountered. Very meek and patient. She lived to be 94 years old. This dead looking thing is a cutting of one of her bushes from her garden. I hope that I didn't wait too long to plant it. I think that it's an aster, and it has cute purple star like blooms in the fall. Now, there won't be any blooms this year, but maybe, just maybe we'll get lucky next year:o)
The other 2 hosta made it in this empty space behind the azalea bushes. Yes, I'm sure they are there:o) I told you that they didn't do so great in the front flower bed.
The playhouse has tiger lilies planted in front of it. Those came from my parents' as well.
To the left of the playhouse, I have planted the iris'. So hopefully come spring time, there will be beautiful purple and orange blooms around the playhouse.
I am waiting for pansies to start showing up in stores. I will put some in the front flower boxes on the playhouse.
Look what the hubby put together a few weeks ago. He's awesome! The kids LOVE it....I LOVE it b/c now  I can send them outside while cooking dinner, and they actually have something to do:o)
I rearranged the furniture yesterday on our back patio too. Notice that there are several empty planters??? They are patiently awaiting pansies:o)
I also put this together
Thus the reason for the new furniture arrangement. Lowes had these pups marked down, so I scooped it up:o) I had to put it up against the house b/c there are gale force winds that sweep across our back yard. Last winter we still had the playhouse on the patio. The wind would blow so hard that it would move the playhouse a few inches. It takes two grown men, struggling, to move that thing....yeah it gets windy:o)

So I was super busy yesterday, but I am happy with the results. Now to just get some color back there:o)
 I hope you all have a great weekend!!

Thursday, September 16, 2010

City of Vancouver and the Olympic village

So we are waiting to see how much the COV will be on the hook if they don't cover their costs on the Olympic Village.

Estimates go as high as $1 Billion. They apparently knew for years (2007) that the project would be in trouble and the City's investment would be at risk, but I didn't hear anything until the credit crisis conveniently came along in late 2008 to blame it on.

There was a secret deal (that's what in camera means) to lend $100 Million to the project in fall of 2008, and now we are in it up to $1 Billion.

That is unfortunately the down-side of PPP (Public Private Projects) the Private gets all the profits and the Public walks off with the losses. What else should we expect when we get Wall Street financiers and Developers signing contracts with council-folk who spend most of their time wondering how to increase hockey hours on the local ice-rinks. Lamb to be sheered.

The question is - who advised the CITY? Which law firms or financial institutions-anyone know. What is their liability in all this?

How much is $1 Billion? Well hopefully the city won't lose that much, but to put it in perspective, it is one year's total annual revenue +/- or it is double the current outstanding debt.

As for our debt rating, I checked and the city's short term debt seems to be holding up well - comparable to the banks but that could change

It is truly a scandal as Gary Mason says and if it bites the COV badly then we can look forward to reduced services.


We have a winner!!

The winner of the vintage button ring was Amy!!
Congrats to you girly!!
I have been super busy today doing lots of outdoor work...hard work. Been planting mums & other plants, rearranging patio furniture, and I even put a fountain together. 
I'll share pics of all my hard work tomorrow. Hope you all are having a fabulous Thursday!

Also.... please go to Samster Mommy
and read her post at this link.
They need your vote!