Showing posts with label before and after. Show all posts

Friday, September 27, 2013

Changing Table -Turned Dog Bed

A couple of weeks ago, I ran across a beat up, run down changing table on the side of the road. It was no longer safe to put a baby on. It was missing two shelves, and was super rickety. Because it was made of real wood and had interesting spindles, I felt the need to bring it home and make something out of it.
The hubs was obviously unhappy that I was bringing more junk home;o) Story of our lives, right?
Anyway, I thought it would make a perfect pet bed.
 This is how it started out. 
I used an electric hand saw and chopped the legs off. That was definitely an experience. Note to self...use a sharp blade next time. I was literally shaking so hard that I had blurred vision while cutting this piece because the blade wouldn't cut through the wood:o) 
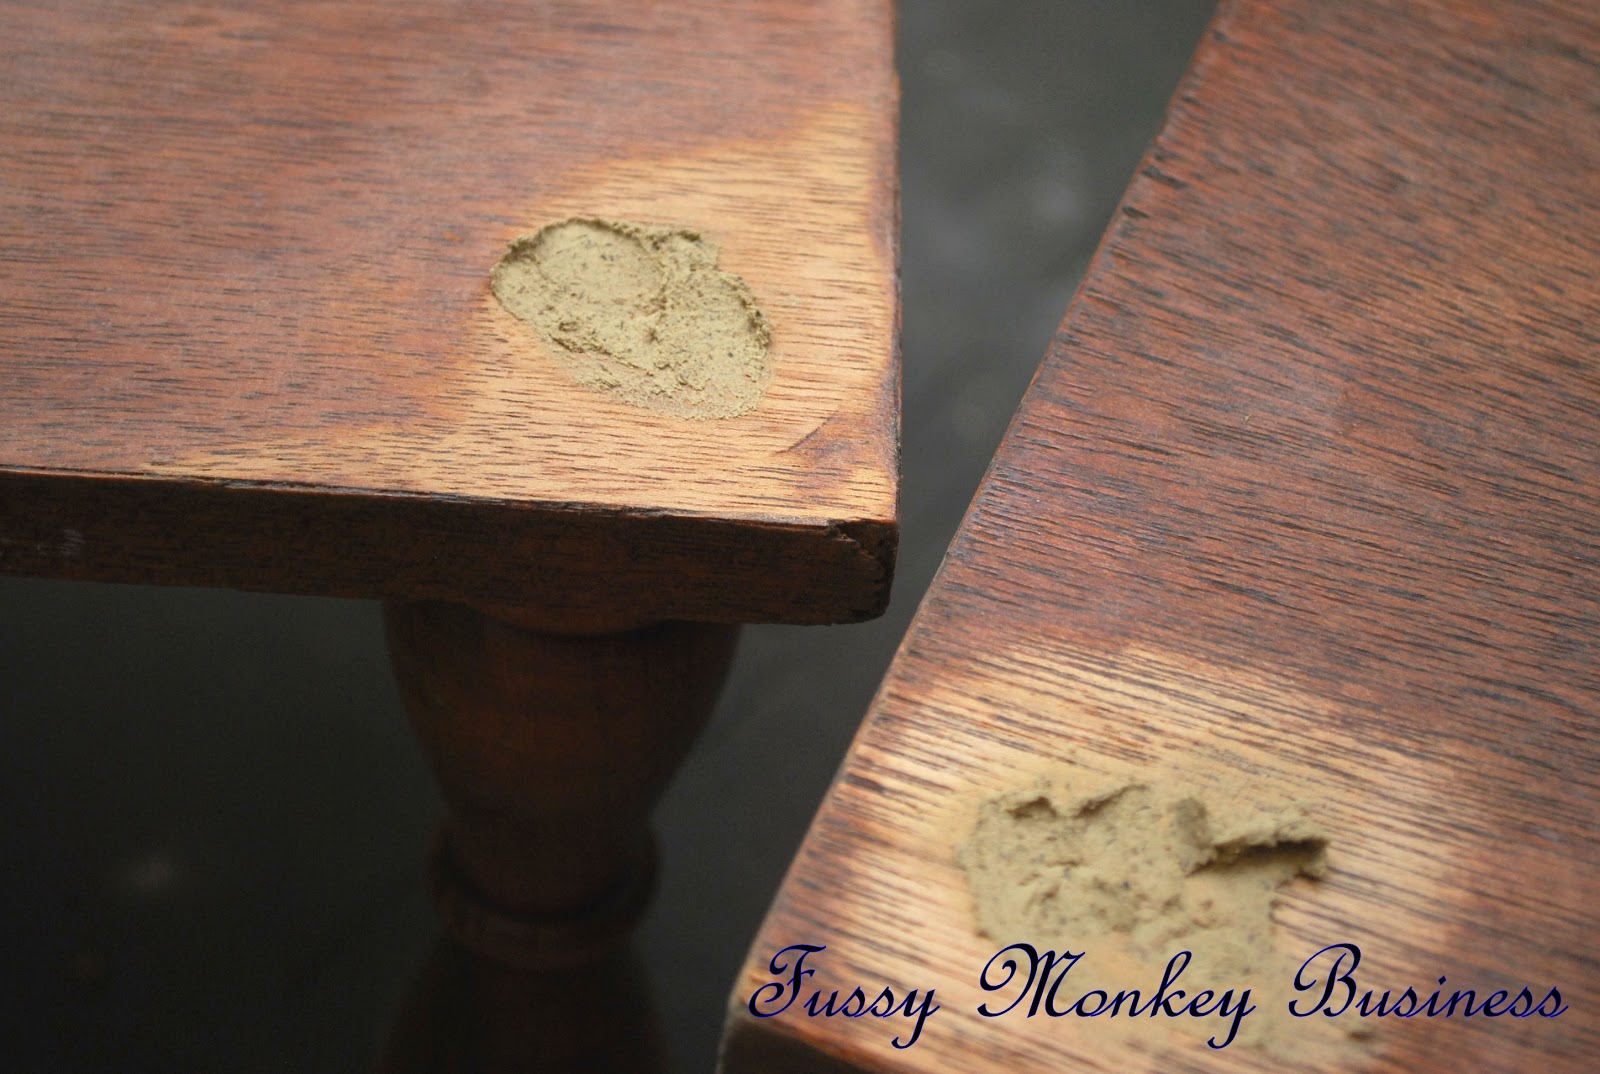
I sanded down the feet to get a nice edge.
I then ripped the safety buckles off of the bottom.
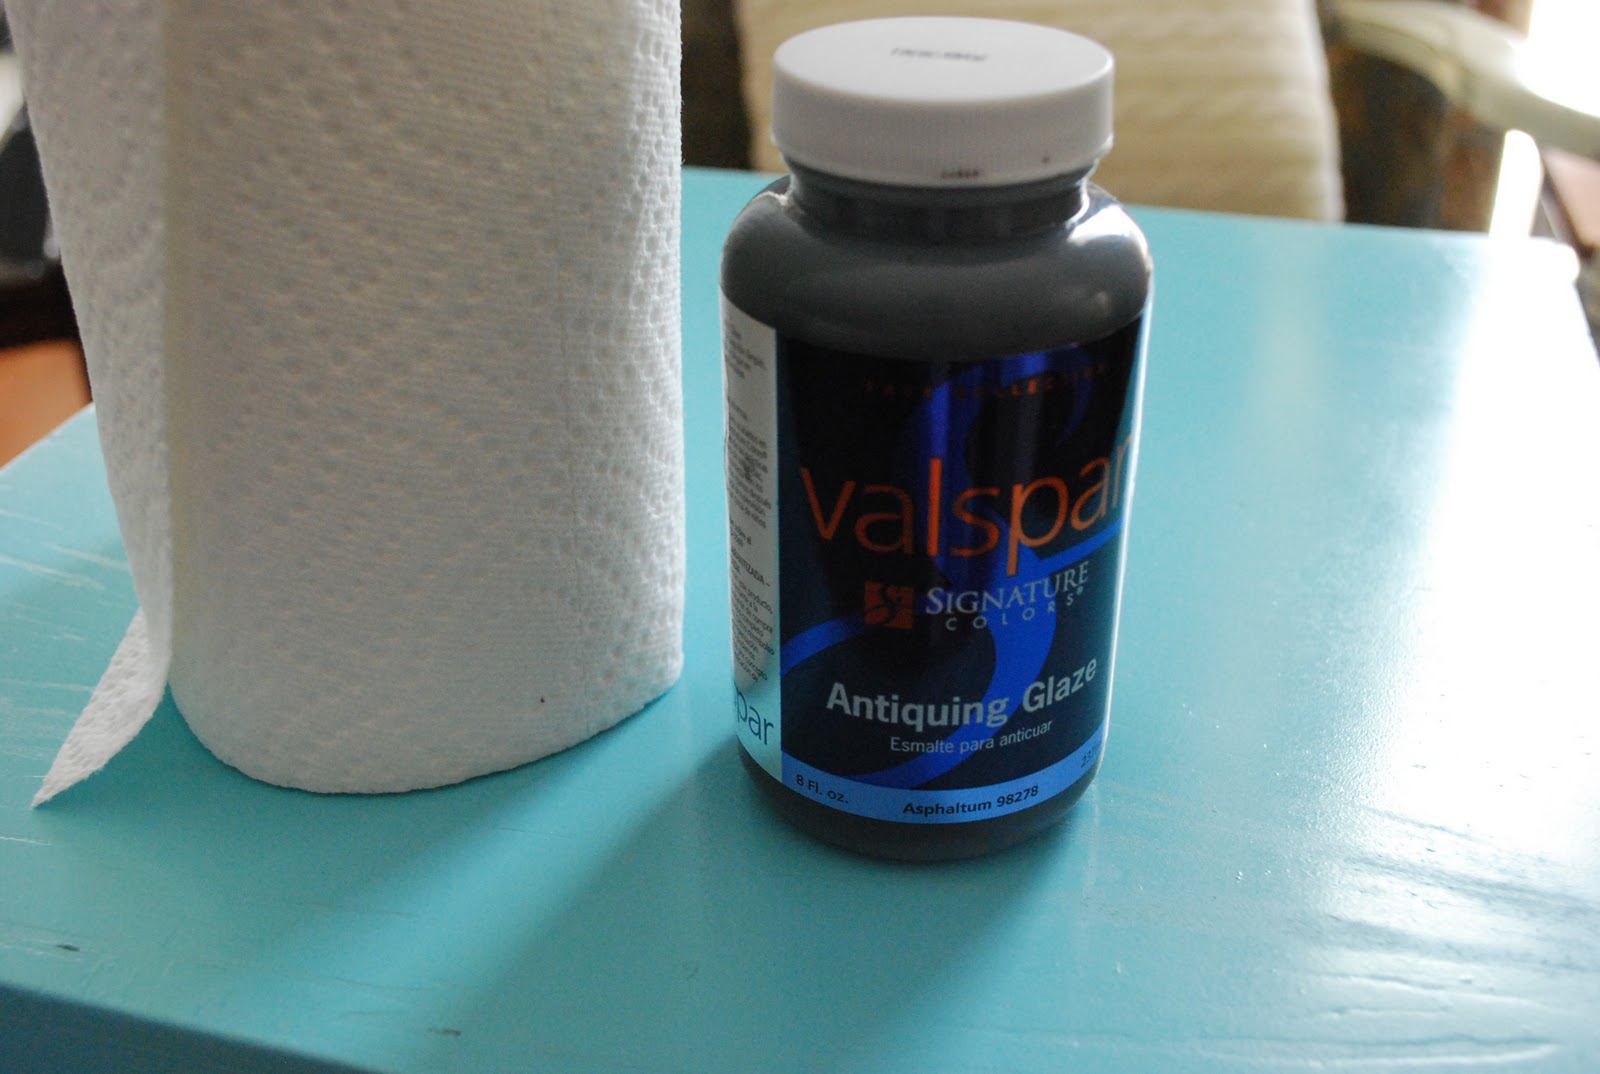
And then spray painted it.
The cushion is made from painters' canvas and two large pillows from my couch in the bonus room.
I made the cover removable by adding a zipper to the back. That way when it gets dirty, I can just throw it in the wash.
Not bad for a roadside rescue?

Monday, December 10, 2012

A Basic Table Turned into Footstools

Happy Monday to you all! I know it's been a while since I posted on furniture re-dos. I have been so wrapped up in sewing projects over the last little bit, that I kind of forgot how fun it is to transform an old piece of furniture:o)
Today I want to show you how I gave a table a new look....a REALLY new look!
When we built our house, we had all of the bathroom sinks raised. That poses a problem when you have little munchkins running around the house. They have a hard time getting to the sink to wash their little hands or brush their teeth.
 My children literally have monkey toes. They climb those cabinets like nobody's business to get to that faucet. I knew something needed to be done before our cabinet doors started falling off of the hinges. 
I have always wanted to get the kids step stools, but I'm cheap, so I never bought any. 
So what do you do when you need something, but don't want to pay for it? You use what you have, and make it work.

I bought this table for $2 from my friend's grandfather. I didn't know what I would do with it because of it's odd shape, so it sat in the garage for A LONG TIME.
I finally got the idea to turn it into footstools for the kids. The legs were perfect..in length and in size. 
I disassembled the table using a hand saw. Thank goodness I didn't use the table saw. There was a big metal rod down the center of those legs. I was able to saw down to the rod, and then unscrew them apart.
 I didn't want the finials, so I had to figure out how to re-attach the legs. I measured and mark a spot near the original holes.
 I screwed all the screws in where they barely broke the surface on the bottom side.
 I laid the board on it's side, and attached all of the legs.
 Since there were 4 gaping holes in each stool, I filled them with wood putty, and let them dry for a few hours. After it had dried, I sanded the spots down, and spray painted each stool.
The finishing touch was to add their initials. I used some wooden letters I had on hand and traced them onto vinyl, and cut them out. 
 Very easy, very inexpensive, and very functional.
 To save the cabinet door fronts, I added some foam pads to the backside.
Now my children's little monkey toes can rest easily on their new stools!!


This project was featured here:

Wednesday, February 2, 2011

Damask Drawer Set

Ok, can I just say..WOW! I honestly am surprised that I made it thru to the 3rd round of this competition! Once again, I slid in by the skin of my teeth:o) 6th place. I'm still in it, and hoping to bring my A game this next round...a.k.a. Baby Round, cuz apparently my B game has been kickin'.:o)
So here is what this drawer set looked like when I bought it. $2 from a yard sale. Yes, $2 and the cob webs, greasy hand print, and mouse poop were free:o)
Believe it or not, my original intention for this was to be some sort of a game table. That was until I decided to go with my Ballard Inspired Nesting Tables.
 I applied 2 quick coats of Krylon Ocean Breeze spray paint, and when I say quick I mean quick...there was cold precip just outside my garage door:o)
My sweet hubby added the trim on the sides and on the fronts of the drawers. I don't know what I would do without him:o)
 Next in line was to cover the drawer fronts with scrapbook paper
( Just so you know, I stink at decoupage. )
I cut the paper to size and applied Mod Podge.  
 After I got the glue down, I used a credit card to smooth out all of the bubbles.
 Once all the paper was in place and had dried, I added the top coat of Mod Podge. While that was drying, I decided to dirty it up a bit with my antiquing glaze from Valspar. 
( The wooden appliqué was purchased from Hobby Lobby. The flower was separate from the scrolly pieces) 

 And here is the end result. It now resides in my craft room. It is perfect for holding my patterns and it makes my craft room a little prettier:o)
Come back tomorrow and I will share the shirt I made for S.R. 
Happy Wednesday!

Wednesday, January 12, 2011

Ballard Inspired Nesting Tables

I hope that you all are staying warm in this frigid weather. We have had so much fun in the snow! Living in the moment, we are:o)
 I told you guys that I had started on some projects before the snow hit, and that I had one more to complete.
Well it is finished...YAY!! And I LOVE how it turned out.

Here is the inspiration for my project today.

Courtesy of Ballard Designs  
These tables are from Ballard Designs and run about $250 for the set. They are beautiful, but are waaaay out of my price range. I have wanted some sort of game table to go in front of the window by the fireplace for quite a while now, but had never found exactly what I was looking for. After seeing Ballard's nesting tables, I knew that those were IT. I had a vision and a mission to find similar tables. 

And here we have them. Given to us. The hubs helped a sweet woman move into her new house and she had these tables that wouldn't fit into her new home. I was very, very excited about these. They just needed a good sanding was all.

And here is my version of the nesting game tables.


They are more cottage-y and fit my decor better.
The taping of the two smaller pieces was very labor intensive, but well worth the effort put into it, I believe.


Are you feelin' it? 


I am really happy with how these turned out and the total cost for me was $7(spray paint and primer)


Now I just need some checkers and chess pieces and we will be set. 
Thanks for stopping by!
Participating in these parties:


Oh yeah, and I entered this:


crazy, I know;o)

Participating in these parties:

Furniture Feature Fridays

MuralMaker and More

Visit thecsiproject.com

Thursday, September 30, 2010

$5 Chair Freshened Up

I spotted this chair at a yard sale a few weekends ago, in slightly worse condition:o) My sister in law was with and me, and we had a really good time. Every time she comes to visit we end up going to yard sales, and every time she says she needs to remember to bring cash. She never gets anything, and I end up spending every last cent that I have on me. I think I even borrowed 25 cents from her??? But regardless, we had a good time.
So this is what the chair looked like when I brought it home:
I liked the white, but it was dingy, and the previous owner had brushed the paint on, so there was a lot of uneven brush strokes all over the chair. In it's first life, I think this chair was RED. You can kind of see the red popping thru in places where the white has chipped off.
 Now the seat cover was completely disgusting. It was vinyl at one point, but because the chair is so old, it was cracked and peely. When I removed the cover, there will little creepy crawlies in it too...EWWWWW! 
Because the cushion was so funky, I used some egg shell crate I had lying around to serve as the chair cushion. I just cut two to size and laid the egg shells facing one another on the seat. I then covered it with low loft batting. Then stapled the fabric to the seat.
I gave the chair a fresh coat of white. I made sure to spray paint it instead of brushing b/c it is just easier, plain and simple. Plus, who wants to have to brush that chair out with all those corners...not I said the crafter!
I found this fabric at a discount fabric store that is about an hour from here. I REALLY wanted to make curtains out of it, but they only had the one remnant that I purchased:( However, I will be making some pillow  covers with this material. Can't wait:o)
 There's my little place mat pillow.
 I did distress the edges just a bit so that the red could pop back thru. S.R. wanted to have her picture taken...look at that sweet little hand...with Dorito laden thumbnail. 
 Before
 After
Not a whole lot of change, but change nonetheless. 
Dentist appointments for the kids today...S.R.'s first time...say a little prayer for mommy's sanity;o)
Happy Thursday!
Linking up to
Miss Mustard Seed
Tatertots and Jello

Tuesday, August 31, 2010

Phase One of Dining Room Makeover

I have had a vision for the dining room for quite some time, but never had the courage to just do it until a few weeks ago. The hubs had another business trip, so I thought it would be the perfect time to do a little board and batten:o) I had never done wood working to this scale, but thought How Hard Can This Be?.....all by myself.
Remember last time the hubs went out of town? I surprised him with an office makeover.
He may start taking my debit card away when he leaves for business trips from now on:o)
I don't have a good Before picture...just the one from S.R.'s birthday party.
Very bland walls....and no, this isn't my dining room table;o)
Here is the After
Much better:o) Here's the process that we I went thru to get to this stage.
I painted about half way down the wall. I used Olympic paint b/c I was trying to save a little money....don't waste your time. Go ahead and spend the money on GOOD paint. It is almost like painting with water. That was mistake number one. Mistake number two was not priming the MDF.
 After getting all the boards hung, I started painting the bottom half of the room with a high gloss white that matched the trim work. This part seemed to take forever. I did a little caulking, and a little mess making...
I was lazy and didn't put anything down to protect the floors. Thank goodness it came up with no problem.
Now the dining room didn't look this good after I got done with it.
I got in way over my head, and the hubs had to come and rescue me. He did a great job on the finish work. He said that he got the easy part:o) I about killed myself a few times trying to get the boards hung:o) Anyway, we still want to add a little trim to the top of the "board" part. That part will be handled by the hubs. My next job will be to make curtains. I already have the fabric. Just waiting to get the motivation...The kids are leaving to go to their grandparents tomorrow, so it may be a good time to tackle that project:o)
So here's the before again:
And the After:
In love:o)
Speaking of birthdays, E's birthday party is coming up NEXT WEEKEND!!! I really have to get on the ball. His party is Cowboy themed. I can't wait to share some of my ideas for his big day. I also have a demonstration to prepare for next Thursday for the Homemakers' Club Cultural Arts Fair....I'm not busy at all;o) 
I hope you all have a great day!!