Wednesday, June 30, 2010

Giveaway Time-Camera Strap Cover

 **This Giveaway is Closed.**
Whew, I am running slow today. Usually by this time of day, on a Wednesday, I am already on my way to the grocery store, then the gym, then swim lessons, but today I can't get my act together. I am siting here with my p.j.'s on, hair standing on end, and an empty cereal bowl sitting beside me, with no real motivation to get moving. We have been attending a marriage seminar at one of the local churches, and it is PHENOMENAL!! We have really enjoyed it, and they provide childcare...which is AWESOME:o) Anyway, we have been getting home late every night. It's wearing the babies out and us, but worth every minute. The kids are loving it too. So, I have been a little busy here lately and racking my brain, trying to come up with a cool giveaway that you would drool over. As I was perusing my blog list, I came across Tatertots and Jello . Love this blog! You guys definitely need to check it out, and become a follower to show your love. Jen made a camera strap, and she has been dying to have one. Here's a pic:
FABULOUS!
I have been dying to have one, but have been a tad too lazy to do it. So I thought to myself, why not make this the giveaway, and then I can get motivated to make one for me:o) If you aren't interested in me making you one, you can find a tutorial on Crap I've Made. This is also a FAB blog, and the title cracks me up every time I see it:o) Now I will be making a few "minor" adjustments to the camera strap. The one I will be offering will be a strap cover. The winner will get to pick the fabric they want for the cover. So here's whatcha do:
  • Leave a Comment Here(1st entry)
  • "Like" Fussy Monkey Business on Facebook, and tell me that you did it(2nd Entry) If you already "like" FMB on Facebook, just say so. 
This giveaway will end on Sunday, July 4th, 12 p.m. Be sure to enter!
*****
My living room makeover is almost complete! Can't wait to share it!!!

Tuesday, June 29, 2010

Tuesday Tutorial-Vacation Countdown Calendar

Hello My Peeps!  I hope that you all are having a wondermous day:o) I am utterly exhausted, but completely in love...with my new wall color! I got the paint on the walls yesterday, and I feel comforted by the sweet "Comfort Gray." I can't wait to reveal my "new" living room. Not sure when it will be ready since I am rearranging furniture:o) 
Anyway, today is Tuesday Tutorial Day, and I saw this tute on another blog called U Create. Kari is featuring Stephanie Lynn from Under the Table Dreaming who shows us how to make a  Vacation Countdown Calendar.
(sorry there isn't a picture)
Definitely check it out! It's super cute! 
******
Tomorrow I will be announcing what the giveaway will be, so stay tuned!!! 

Monday, June 28, 2010

Painting My Living Room

I am painting my living room today!!!! I am so excited about this. I have had two gallons of "Comfort Gray" just waiting to be rolled onto the walls(3 weeks sitting on my pantry floor):o) 

I have never had paint sit that long, unopened... It's gonna be great!
The yard sale didn't go as well as I had hoped. I sold almost all of the big stuff, but there were so many clothes, that it didn't look like I sold anything. We live out in the country now, so that may have had a little bit to do with the low turn out. We are going to try it again this weekend, but at a friend's home that has lots-o-traffic. 
*******
We now have reached 75 followers!!!! Stay tuned for the next giveaway. I think I will announce it on Wed. or Thurs.
*******
Also, remember that tomorrow is Tuesday Tutorials day. Hope to see you back here tomorrow!

Sunday, June 27, 2010

Recession over, what's NeXT ?

Sometimes I feel very depress when my prediction comes TRUE.

For those who don't know yet, Malaysia is going through a transition where political power could potentially shared between 2 parties; instead of just one-side-say-it-all like the past 50 years. Unfortunately, the initial phase of this transition has ended in a way when our new Prime Minister has strategically resolved it.

At the moment New Economy Model was presented, I immediately sensed the game err they plan to play. Because exactly the same game plan has been played in USA before. While it is true that Malaysia CAN become a developed nation by adopting those moves but it has also been proven that such finance structure is NOT sustainable. Just see what has happened in USA and what is happening in Europe.

Although as if recession is over now, actual effective inflation experience the SHARPEST rise in last 2 months, as high as 25% to 50% if you visit hypermarket often. That is not the worst. What is happening now is that major manufacturers are deceiving consumers in large scale openly. While their products have inflated severely, they run advertisements and promotions as if their products are ON OFFER ! All these are done as part of the exercise to smoothen the transition into a developed nation, hence they have government support behind the scene at all cost. Ahem ... at consumer's cost that is. While these are nothing new to those who have seen it all, but sadly ... there are more consumers falling into it than realizing it at all.


As mentioned in what can we do when bully by the big boys, there is probably nothing much we can do to STOP anything now. So there are just a few things we can probably watch carefully and ride on so that we can get a piece of the pie too ...

  • Property will rise drastically. Wherever you are staying right now and despite how much you like it, it may become more worth while to sell it off in the next 10 years. So do plan ahead where you may want to stay 5-15 years later. This may become your LAST and ONLY ticket when the nation is developed and you are still under developing.

  • Double your salary in the next 2-3 years. If you wait till the wave carries you, you will always stay behind. You salary WILL increase AFTER the effect of inflation fully kick in. But by then, your increased salary will mean much less. So you really have to think for yourself now. If you are really royal to your employer, your employer should have seen this coming too and take care of you but did it ?
Other than that, derived finance products like futures, options and forex will over shine proper financial planning so much that a lot of weird and ad-hoc theories will surface out. Most people will no longer be able to differentiate what the real proper investment is. On the other hand, that is due to more and more improper investments will actually obtain real returns for the new few years. So if all you care is to get more money, then it should fine temporary.

Hence, MalPF only has one advice to all. Be deviated all you want, just remember to engage an exit strategy and keep yourself in high cash flow condition.

Friday, June 25, 2010

$ 1 Billion...

Is that the new Lotto Max jack-pot? Nope it is the cost of the G20 boon-doggle.

What was the rationale for this huge expenditure?..to show-case Central Canada..so we are told. You see we had the hugely expensive Olympics to show case Western Canada and so being the fair folks we are, we had to have a hugely expensive event out East to balance things out.

$ 1 Billion. How would I spend $ 1 Billion?

How about $ 1 M each for the families of service-men and women killed in Afghanistan = $ 148 M

Then add in a carton of free milk for every poor kid at school (any who ask for it) = $ 60 M

We know the politicians and bureaucrats want their share - so send them all to an expensive resort to teleconference with each other for a week = $32 M

While we are at it, lets hire 50,000 kids in their university/college breaks to do something useful. Clean stuff up or build something and help them pay for their hugely expensive education. = $ 150 M

That's about it. So we are still left with $ 610 Million. Maybe just use that to repay the debt. Ooops forgot, this is probably borrowed money anyway, since we are running a deficit- so just don't borrow it.

I hope Harper goes in with a bigger message than- 'don't tax the banks'. He seems like a man who's vision for Canada and the world is about as exciting as his suits.

BTW for those of you who still do not believe we have a media monopoly here. Google cost of g20 and click on 'news' - you will get 12 copies of the same article
Without a single word being changed from all the Canwest organs.

The G20 boon-doggle is democracy at it's worst and we have journalism at it's worst covering it.

Here I made it easy for you:


I know I am going off topic. Once we get June behind us, I am thinking of starting the MOI again for different areas. Maybe a different area every few days, so we can how the land lies as we head towards fall and 2011.

Enjoy the week-end.

Finds From the Dollar Tree

I was needing a Dollar Tree fix the other day, so I packed up my babies, and off we went. I wanted to see if there was anything for E's birthday party (which is in 3 months). I like to plan ahead, don't hate;o) Anyway, I didn't find much for his party, just 2 horse shoe games, but I found some other great stuff.
This will be one of the party games. I am doing a cowboy theme. I asked E the other day if he wanted a cowboy themed b-day party and he said YEAH! I think we have a winner. It may be that Toy Story 3 is on the brain:o) Speaking of that, they have a really good selection of TS3 stuff. I found some stocking stuffers.
The sticker books in the back were actually advertised during the TS3 previews, and I couldn't pass up the canvas art. It comes with markers. These may be coming from Santa this year;o)
I thought that this oven mitt was really cute, and I have needed one like this for about 3 years now. I have been too cheap to go out and get one...it's not like they are expensive. It was more out of pure laziness. I like it because it has that vinyl-ish stuff on the other side.
Now for my FAVE finds at the $ Tree:
I found these little bins at the $ Tree!!! Are they not the cutest things? And how perfect are they for S.R.'s Dollhouse bookcase? I'm not sure if you are aware of how much I LOVE to organize. I was in organization HEAVEN when I saw these pups.
I couldn't believe it when I saw them, and of course that's when the children were at their worst....but I didn't care, I was going to search thru the stash and find exactly what I needed. I love it! Check out this one:
Perfect for her little dress up shoes with it's cute compartments.
And I also found these:
I really like these. They are wall decals. I know where the "family" one and the "God" one are going already.  Ahhh! Can you stand it? I love $ Tree. 
I hope you all have a great weekend. I am gearing up for a yard sale tomorrow. I am letting go of all the baby stuff....sniff, sniff:( It's gonna be HOTT! 
******
Just a reminder, we are 3 followers away from the next give away!

Tuesday, June 22, 2010

Tuesdays Tutorial-Pillow Case Dress

It's Tuesday Tutorial Time!!!
 I have been looking forward to sharing this tute with you. A friend of mine from high school requested that I do a tutorial on how to make a pillow case dress, and thankfully she is a patient woman;o) It took me a couple of weeks, since things around here haven't been exactly slow:o) 
I am always looking for an excuse to make S.R. a new dress, and I new that she would need something to wear for the 4th, so I thought this would be the perfect time to make the pillow case dress. And the great thing about it was that I already had everything on hand, so I can stick to my vow of not buying any new projects for the month of June:o) Aren't you proud?!?!?!?;o)
Just a warning...There are TONS of pictures in this post. So without further adieu, I give you the tute:
 
I didn't want this to be a plain pillowcase dress that looked like I cut some holes in a pillowcase, strung some ribbon thru the neck and called it a day. I really wanted a little something added to it. I had leftover fabric from the Cherry Outfit. So I used the red gingham for the center front and center back. The checked with stars fabric I had from about two years ago when I thought I was going to make this fabulous rag quilt that never came into existence;o)
My mother gave me an endless amount of ribbon the other day that was left over from an estate sale that she had hosted, so I was glad that there was some blue in the stash:o) 
So your supplies list should include:
-Fabric(1-3 different prints)
-Grosgrain Ribbon(1"-2" wide)
-Single Fold Bias Tape(coordinating color)
-And the obvious:thread, machine, scissors, seam ripper,measuring tape, pins, patience;o)
So let's get started!
(these measurements are for a 3T size dress, adjust measurements as you see fit)
Choose which fabric will be the center of the dress. Mine was the red and white gingham. Cut 2 at 6"x22". Next you will cut your secondary fabric. Cut 2 at 14"x22".
 With right sides facing, stitch together center piece to side piece using a 1/4" inseam.
Do this on all sides until you come up with this:
Press open each seam.
This is what it should look like turned right side out.
 Next, you will be using your iron. Turn the fabric inside out again and grab your measuring tape. Fold the top of the dress 2" down, making sure that it's even all the way across. Press.
 Sorry for the shadow. I think a stray curl got in front of the flash:o) Next, you will press under the raw edge a 1/2", making the top 1 1/2" wide.
 The next part is kinda tricky if you don't have a pattern. The other day I ran across a new blog that I am really excited about. It's called Whimsy Couture and she has a lot of great patterns, and I purchased this one. 
It included the arm holes for each size which was GREAT! She actually has this pattern 50% off right now, and it's emailed to you after payment. Definitely check it out.
 So if you are wanting to try it for yourself, I would measure across the chest from inside the shoulders, and then measure under the arms across the chest. Write those numbers down and that way you would know what angle to cut your curve on....probably doesn't make much sense...I apologize:( The easiest thing is to buy from Whimsy Couture;o)
Now that we have the arm hole cut, it's time to head back to the ironing board. But this time you will need your single fold bias tape.
Can you tell how old this stuff is? Check out the "do" on this chick-a-dee;o) That was mean....:o)
Anyway, grab your iron and press open one side of the tape. Now this part was a little tricky the very first time I attempted this, so I will try to explain a little better than McCall's did:o)
Once you have opened up one side of your tape, grab your dress and your pins, and start pinning the arm holes. You want to pin on the right side of the fabric with raw edges matching. See pic below, and notice that I have unfolded the top edges that we pressed down to hold the ribbon: 
Can you see how the folded edge is on the bottom? Head to the machine. There is still a line where the tape had been folded before you pressed it. Use that line as a guide for your stitch line, making sure to remove pins as you approach them.
Now that the tape has been stitched in place, turn it in towards the wrong side of the dress and press. This is what it should look like:

Back to the machine and stitch the tape in place staying close to the edge of the tape. Once you have stitched that, it's time to work on the top again where the ribbon will go.
Just press it back into place like this:
Stitch across the bottom, staying close to the edge. Then run your ribbon thru.
Now for the ruffle. When cutting this, you will basically double the width of the dress. I cut a 6'x8" strip. Fold the 8" width in half and press.
 Next, you will baste the raw edges. Basting is a long stitch, and you may want to loosen the thread tension.
This is a picture of my machine and showing the baste stitch.
When stitching stay close to the edge, but not too close. 
I have two little lines on the presser foot(which are hard to see in this picture) and I use the inside line as my guide when basting. Be careful not to go too fast b/c the fabric can get away from you:o)
This is what the stitching should look like when finished.
At the end of the fabric there should be a little thread hanging off, this is what you will be tugging on.
Pull on one of the strings gently. The fabric will start to bunch up. Slide it down the thread and this will create the ruffle.
Sew the ends together. Grab the dress and your pins again. With the dress facing right side out, you will be pinning the ruffle on the bottom of the dress in the same manner as the bias tape. Put raw edges together and pin, making sure to slide the fabric out a little if there is too much bunching in one area.
Stitch 1/4" inseam, making sure to keep everything even, and removing pins when you approach them.
Once you have finished stitching the ruffle to the dress, press the ruffle down.
And that's it:o) 
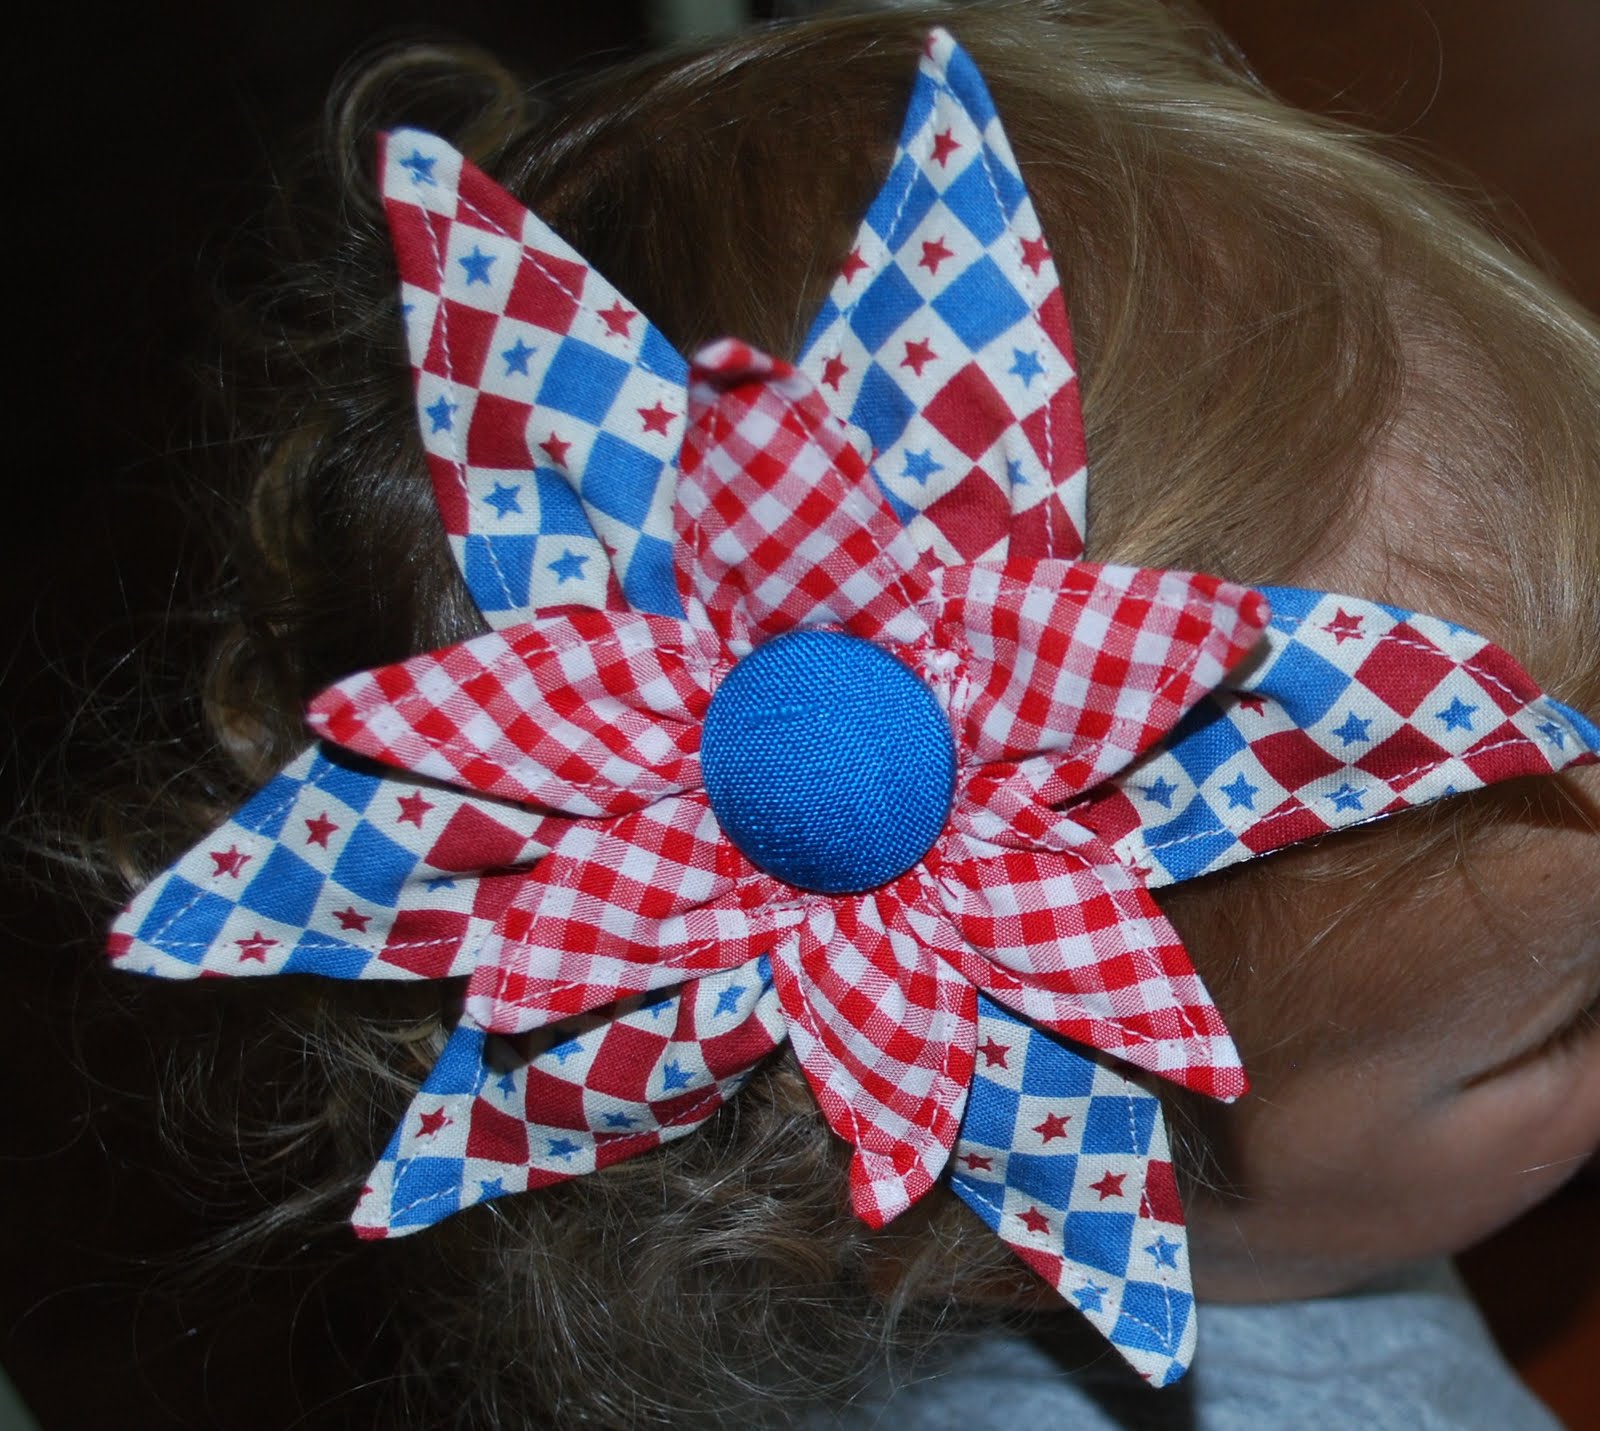
Your pillowcase dress is complete. Now you just have to find that cutie and slip it over her head and enjoy watching her wear your creation:o) I did have to make a hair bow for S.R. to match:o)
You can find the pattern for this super simple flower here, at Carina Gardner Studio. Another great blog to check out!!!

If you have any questions about today's tute, give me a shout. If you decide to make one, please send me pics so I can share them! I wanna see your work!!! Happy Sewing! 

Monday, June 21, 2010

Not Dumb-bear...Dun-bar...

Which film does that line come from?

Yes there are dumb bears out there. Today an anxious bear called me to say- "Did you hear about the Chinese allowing the Yuan to rise. It means Vancouver RE become cheaper for them".

Of course I had heard about it. It caused a quick (and short lived) stock market rally this morning.

However lets look at the facts:


As you can see, the Dollar held it's own today and in fact is up against the Yuan over the last week or two.

Panic over...

Princess Vanity Chair

So glad to finally be back here again. I have been unbelievably busy, and have another week of it. There isn't much room to put anything else on my calendar:oP. Anywho, I am really excited about today's post. I have had this little treasure in my garage for a few weeks now, and FINALLY got around to doing something with it. In it's former life it was a very sad little vanity chair. I don't have before pictures to prove it, but trust me, it was sad:o) The frame was a bronze finish(with a hint of rust), and the seat was just a piece of wood covered in 80's mauve vinyl plastic-y stuff with a rip down the center....U.G.L.Y. It was screaming "Help Me!" So I answered it's call and came up with this:
I love how it turned out. It's so girly. I used Krylon white spray paint with a matte finish on the frame. On the seat, I cut out some foam, and recovered it with some fabric that I purchased from Walmart. The button in the center of the cushion is fabric left over from this chair. I just used one of those button kits I had on hand...love those things! I didn't want to go over the top with the main fabric b/c there are so many bold prints in S.R.'s room. 

The skirt is 7 yards of shiny tulle from "Hobbly Lobbly" (as E calls it:o)).
Both of my children fell in love with this chair. E kept saying, "Aww that so beautiful, Mommy," and S.R. would say, "Dat so pweety." It now has a home in S.R.'s room underneath her antique vanity that was my great grandmother's.
Here is  what I made for my father and the hubs for their Father's Day gifts. They were very happy with them. This is a picture of my father's. The kids call him Papa. I still have to make one for Grandpa...I ran out of supplies, and since I like to wait until the very last minute to do EVERYTHING, his didn't get done.....but it will:o)
(sorry for the gross looking cutting mat in the background!)


***************************

Tomorrow's posting will kick start Fussy Monkey's Tuesday Tutorials. I am really looking forward to starting this up. I will show you how to make a jazzed up pillow case dress. See you then!

Friday, June 18, 2010

Heads Up on Next Week's Postings

Where I would like to be right now:o)
Just wanted to let you guys know that I am really looking forward to sharing my posts with you next week. It looks like I am going to have another couple of hectic weeks, so I will post when I can:o) I am going to ATTEMPT something new. I am planning on starting a Tuesday Tutorials day where every Tuesday, I share with you how to make something that I have made. To start us off, I will be posting a tutorial on how to make a jazzed up Pillow Case Dress. There will be LOTS of pictures to guide you through. I hope that you all have a fabulous weekend, and a great Father's Day. I will share the gifts I made for the hubs next week. He's too nosy, and I don't want to spoil the surprise;o) Hugs to you!

p.s. I feel another giveaway coming on.....we're almost to 75 followers....I think that's a good time to celebrate, don't you;o)